This is just a very basic hair tutorial for a "shag" type hairdo. If you would like to see a larger, more detailed image just click on the thumbnail and the larger image will open. Use your back button in your browser to return to this page.
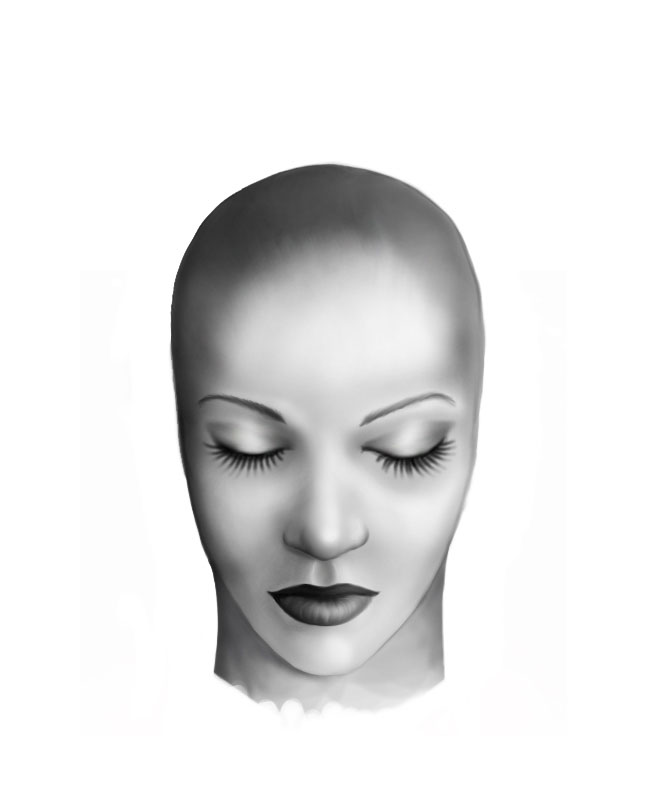
I started by painting a very basic head to use as a template for all future hair tutorials. This is a good idea if you want to practice with various hair colors, styles, techniques, etc. I kept it grayscale so that the focus could be on the hair.
Then I created a new layer and made a quick (and crappy) sketch of basically how I wanted the hair to flow.
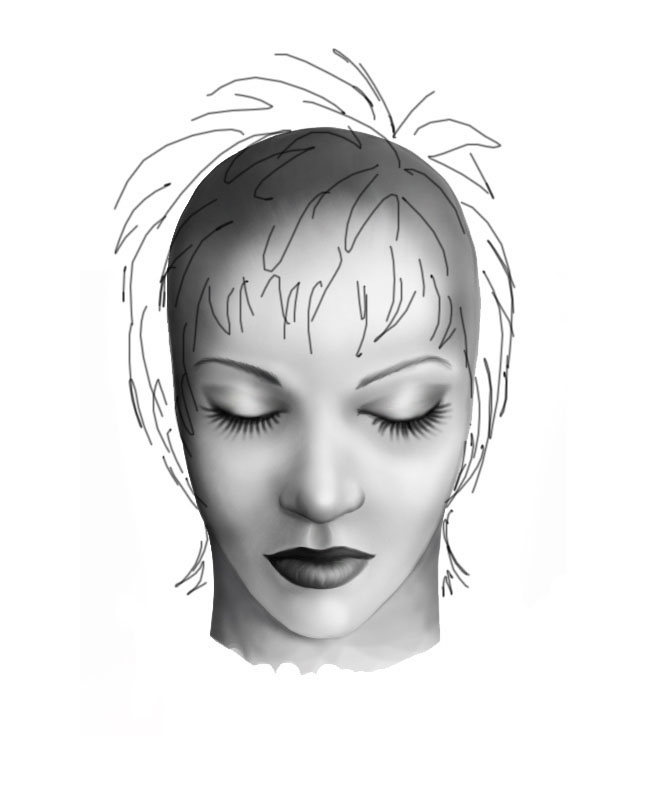
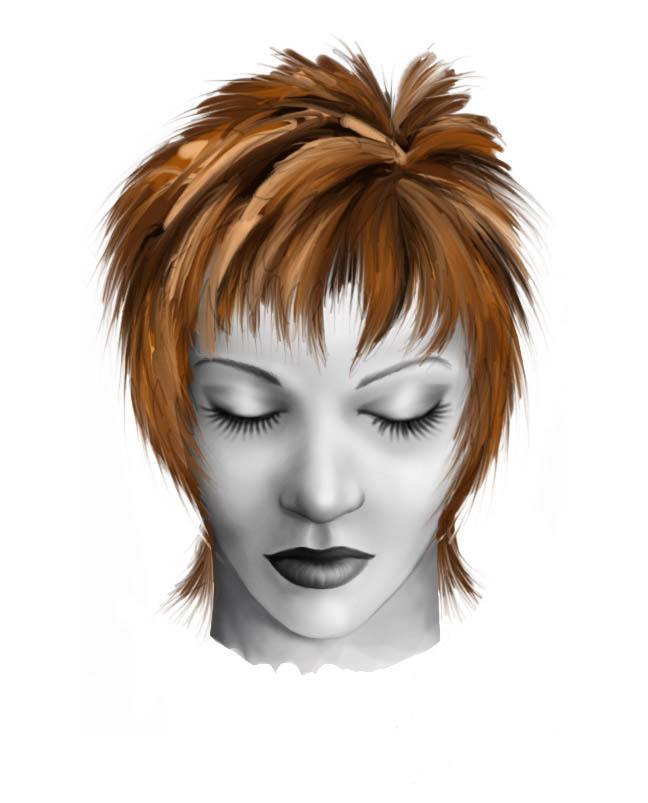
Keeping the sketch layer visible, I then created a new layer (beneath the sketch) and filled in the base (mid) hair color.
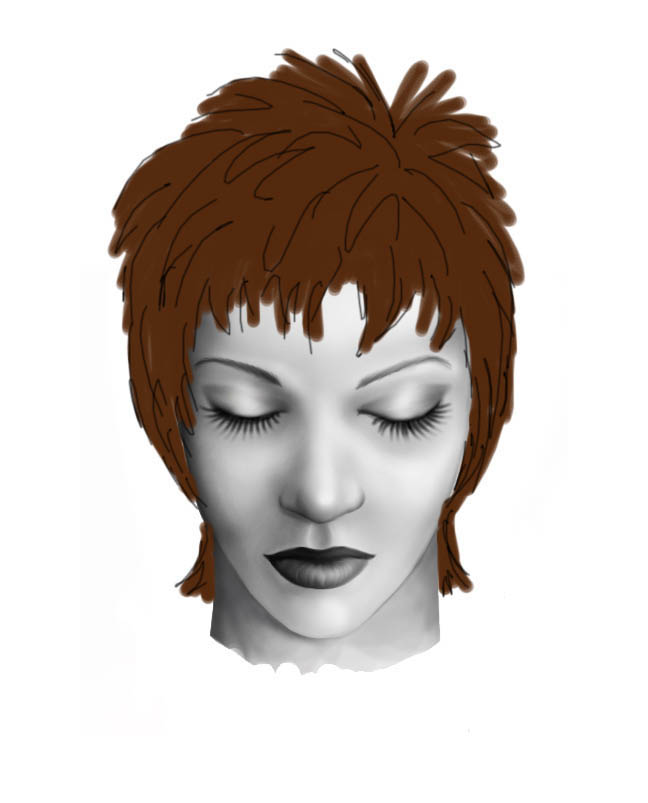
Then, I just began blocking in highlights and shadows, getting a feel for where I wanted each clump/strand to fall. I am usually not very good at this and the hair that I paint doesn't start taking good shape until near the end but I do my best.
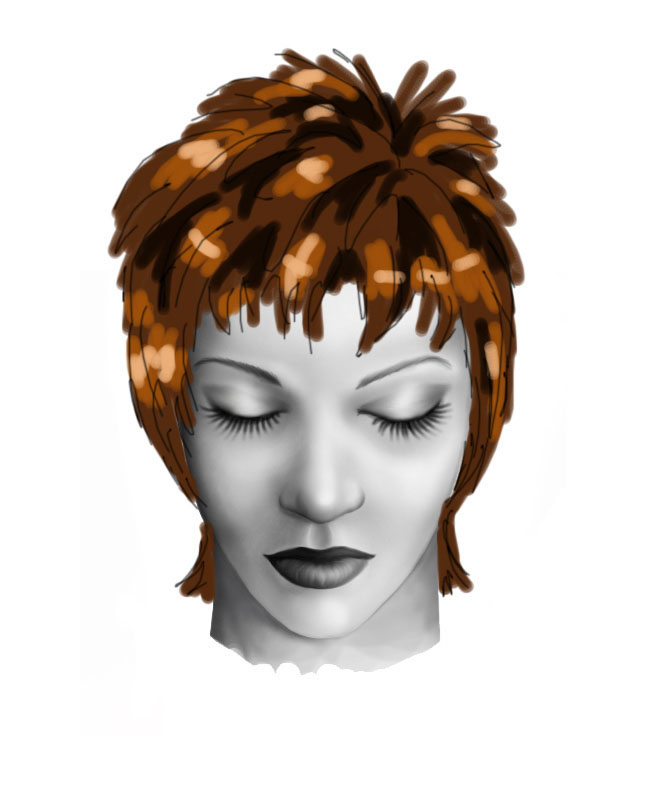
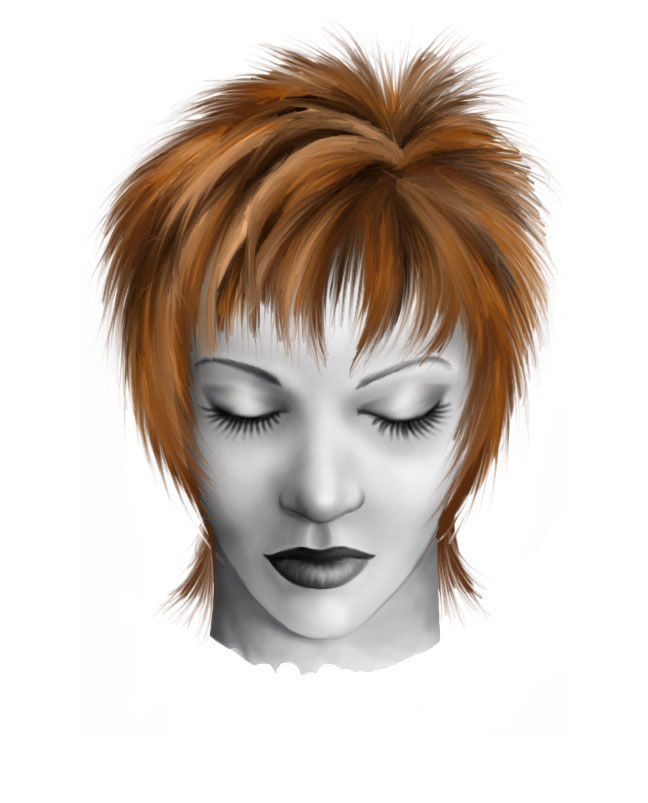
Once the basic areas are blocked out, I do a combination of things. I use a small brush (3 pix) and a high smudge pressure setting (85-90) and I begin drawing the areas together with the smudge brush, painting highlights and lowlights as I go along to begin to bring out more depth and definition. This is also the point that I usually turn the hair sketch layer to 0% opacity or I delete it entirely.
The next step is similar to the last - it is just more smudging and color layout. At this point, I experiment with various brush sizes and pressure settings to achieve what I am looking for. If you look at the large version of this you can see that I am still not overly concerned with any finished look but rather just basic blending.
Then I begin really working in more highlights and shadows, further defining the strands/clumps of hair. I do this by using paint as well as the burn and dodge tools.
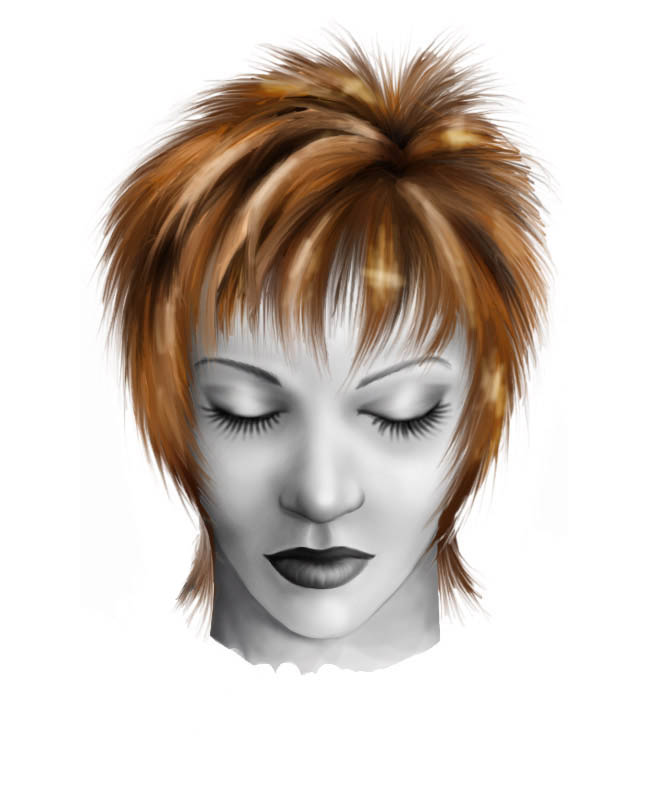
With the smudge brush I work the previous blocking back into the hair, once again with varying sizes and settings. Primarily a size 3 brush but at pressure settings of 90, 75, and 50.
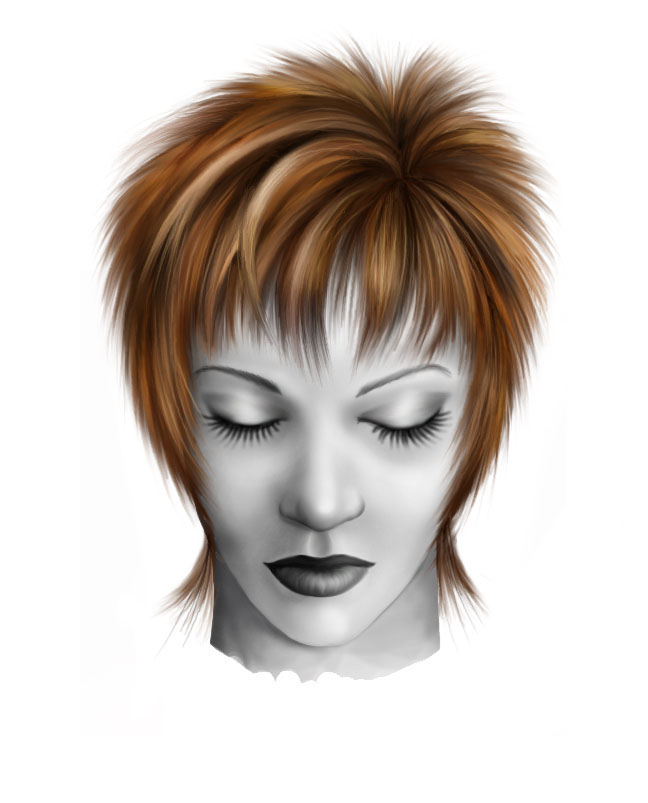
Using both dodge and burn, I bring out more highlights, shadows, etc.

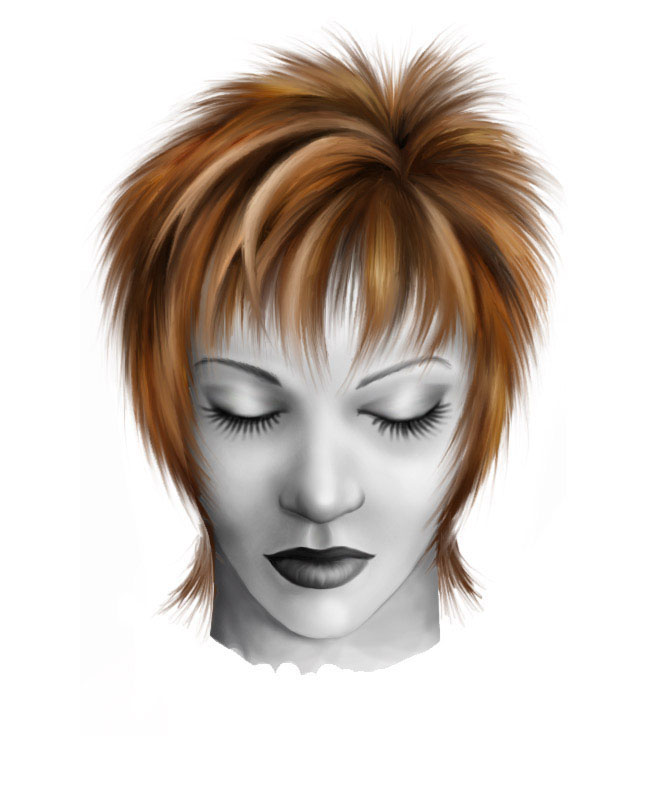
Here I begin finishing by adding individual hair strands. You can set your brush to fade if you'd like or you can use separate layers for various strands, erasing off harsh edges. I prefer a combination of both. I draw colors from what is already down for strands and use them to further define the hair. I also use the eraser around the entire head of hair to get rid of the nappy looking longish strands that radiate out too far from her hair.
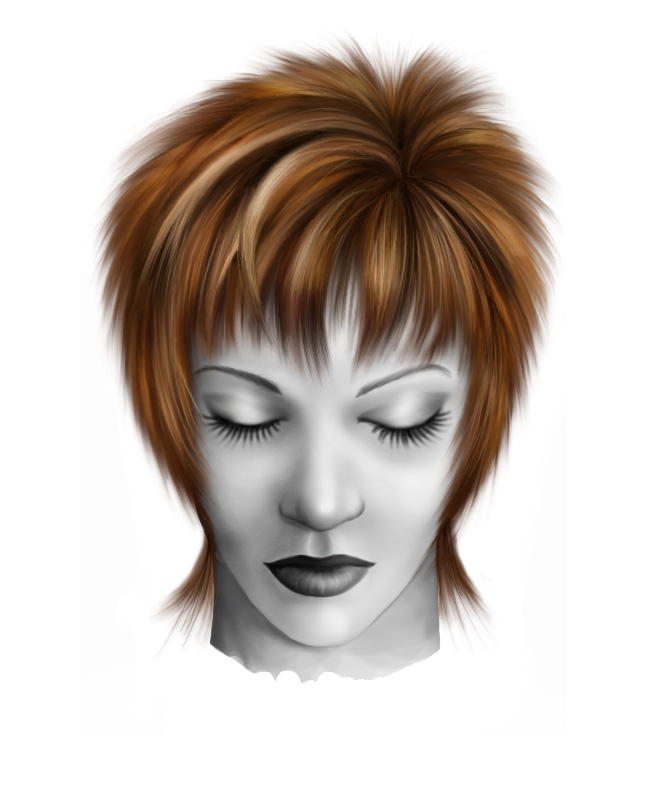
This last stage for this tutorial was just a softening of the edges and adding shadows beneath the hair layer. This is not (by far) absolutely finished. More strands using various brushes can continue to be added until you're satisfied.
I hope this wee tutorial was helpful :)